


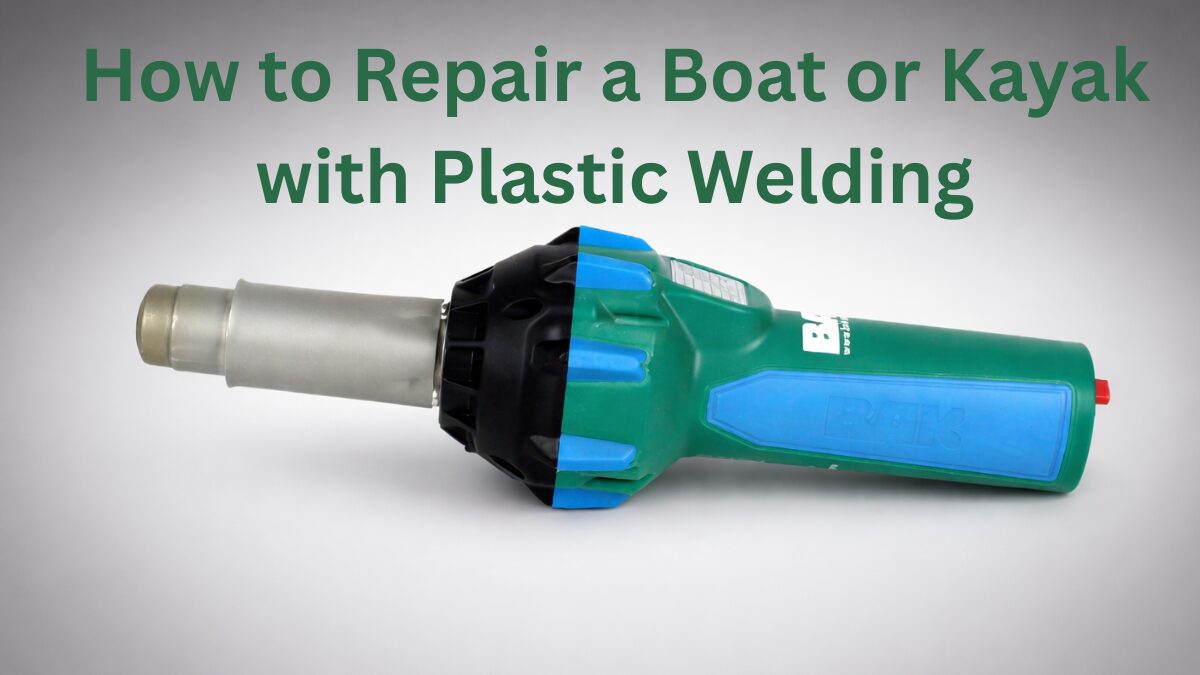
A cracked hull, split seam, or impact damage on a plastic boat or kayak is a repair job that most people assume requires either a specialist or a full replacement. Kayak repair plastic work and plastic boat repair are both well within the capabilities of a professional or experienced user who has the right tools and understands the technique involved. Plastic welding is the correct approach for structural damage to a polyethylene or HDPE hull: it restores the material continuity of the damaged section rather than bridging the crack with an adhesive that may hold temporarily but will work loose under flexion, UV exposure, and repeated water contact. HDPE and polyethylene are the materials used in the majority of rotomolded kayaks and plastic boats, and both are weldable thermoplastics that respond well to hot air welding when the repair is done correctly.
This guide covers the complete plastic boat repair process from the starting point through to returning the boat to the water: how to identify the plastic material before selecting a welding rod, what tools and equipment the repair requires, the step-by-step technique for cleaning, grooving, welding, and finishing the repair, and the cases where plastic welding is not the right solution and the damage requires a different approach. Hot Air Tools® has supplied professional-grade hot air welding tools to plastic welders and trade professionals since 1986, and the approach in this guide reflects how structural plastic repairs are done in professional practice.
Can You Repair a Plastic Boat or Kayak with Plastic Welding?
Yes, and plastic welding boat repair is the professional method for structural damage to polyethylene and HDPE hulls. HDPE and polyethylene are thermoplastics, meaning they soften when heated to the correct temperature and fuse with a compatible welding rod when both the base material and the rod are brought to welding temperature simultaneously. The result of a correctly executed repair is a weld that bonds into the hull material itself, restoring the structural continuity of the damaged section.
That is fundamentally different from what an adhesive patch does. An adhesive repair sits on top of the existing material and relies on surface bonding that is susceptible to failure when the hull flexes, absorbs water over time, or is subjected to impact. Knowing how to repair a plastic boat with welding rather than patching is the difference between a repair that holds up and one that needs to be redone. For surface-level cosmetic damage with no structural compromise, adhesive patches are appropriate. For cracks or splits that affect hull integrity, plastic welding is the method that holds.
Identifying the Plastic Before You Weld
Before selecting a welding rod or applying any heat, identify the plastic the hull is made from. Matching the welding rod to the base material is not optional: a mismatched rod produces a joint that looks complete but delaminates under load, which is a worse outcome than leaving the crack unrepaired. Most rotomolded kayaks and plastic boats are constructed from HDPE or LLDPE. Sit-on-top kayaks and lower-cost hulls typically use polyethylene of varying grades. Some thermoformed kayak designs use ABS.
The resin identification code is molded into most modern hulls, usually near the cockpit rim or on the underside of the hull, and will read HDPE, LLDPE, or the corresponding resin code number. On older hulls where that marking has worn away, two practical tests can confirm the material: the burn test, where a small scraping from an inconspicuous area is briefly ignited and HDPE will melt cleanly, produce a waxy smell, and drip rather than char or produce black smoke; and the float test, where a small piece of hull material dropped in water will float if it is polyethylene or HDPE and sink if it is ABS.
A quality kayak repair kit plastic setup starts with the right rod for the material, and that identification step is what makes everything that follows work. Browse Hot Air Tools®’s heat guns for the adjustable-temperature tools suited to this work.
Tools and Materials for Plastic Boat and Kayak Repair
The equipment needed for a plastic boat repair or kayak repair by plastic welding is straightforward: a hot air welding tool with adjustable temperature control, a plastic welding rod matched to the hull material (HDPE rod for HDPE hulls, polyethylene rod for polyethylene hulls), 80 to 120 grit sandpaper for surface preparation, isopropyl alcohol for cleaning, a rotary tool or V-grooving bit for crack preparation, and heat-resistant gloves. The most important equipment decision is the welding tool.
A heat gun with stepless temperature control is preferable to a fixed-output tool for hull repair because crack geometry varies along its length, wall thickness changes at reinforced sections, and the ability to adjust the output temperature without switching tools mid-repair is what allows consistent fusion across the full length of the crack. Hot Air Tools® stocks professional heat guns from BAK suited for plastic boat repair and kayak repair at competitive prices, with in-house repair support when the tool needs service.
Step-by-Step Guide to Plastic Boat Repair and Kayak Repair
Whether the damage is a hairline crack in a kayak hull or a split seam in a plastic boat body, the repair follows the same sequence. Here is how to work through it correctly.
Step 1: Clean and Prepare the Repair Area
Start by cleaning the full repair area and a generous margin around it with isopropyl alcohol. Polyethylene and HDPE hulls accumulate UV protectant, wax, mold release residue, algae, and general surface contamination that all prevent proper weld fusion. Alcohol removes the surface layer of contaminants. Follow with 80 to 120 grit sanding across the weld zone to remove the oxidized surface layer that UV exposure creates on polyethylene hulls over time. That oxidized layer looks intact and feels solid, but it will not fuse with a welding rod. Any kayak repair plastic weld made over an oxidized surface will delaminate, often within the first few outings. Removing it before welding is the single preparation step that most failed DIY kayak repairs skip, and it is the most important one.
Step 2: V-Groove the Crack
Before applying any heat, open the crack into a V-groove along its full length. Use a rotary tool with a V-grooving bit, a sharp utility knife, or a dedicated plastic grooving tool to cut the groove to approximately two-thirds of the hull wall thickness. Do not cut all the way through. Before starting the groove, drill a small stop-hole at each end of the visible crack to prevent it from extending further as you work. The V-groove is what makes the repair structural rather than cosmetic: it gives the welding rod a channel to be deposited into and ensures the fused material penetrates into the hull wall rather than building up on top of a closed surface. A surface weld over a closed crack does not have enough contact area with the base material to hold under the flexion, impact, and water pressure a hull experiences in use.
Step 3: Plastic Weld the Repair
With the groove prepared and the area clean, begin welding. Direct the heat gun nozzle to heat the V-groove and the tip of the welding rod simultaneously, keeping the nozzle moving between the two surfaces rather than dwelling on either. HDPE and polyethylene weld in the range of approximately 260 degrees C to 300 degrees C at the nozzle. As both surfaces reach welding temperature, feed the rod into the groove with steady pressure, allowing it to fuse into the base material rather than simply depositing on top of it. Work along the full length of the crack, tamping the rod material into the groove with the nozzle tip or a tamping tool to ensure full contact and eliminate voids. A void in the weld zone is a future crack initiation point.
The first pass fills the V-groove and establishes the structural bond. If the groove is deep or the crack is wide, a second pass builds the repair flush with the surrounding hull surface. Plastic welding boat repair on hulls with heavy damage may require multiple passes before the repair is flush. Between passes, allow the previous material to cool partially before adding the next layer. Link to Hot Air Tools®’s plastic welding tools for the hand welding equipment suited to hull repair work.
Step 4: Finish and Test the Plastic Repair
Allow the repair to cool completely before handling or sanding. Once cooled, sand the repair flush with the surrounding hull surface using progressively finer grits, starting at 80 grit to remove the bulk of the raised weld bead and finishing at 220 grit to smooth the surface. Inspect the full length of the repair for voids, edge delamination, or sections where the rod material did not fully fuse to the base material.
Any incomplete sections need to be re-welded before the hull goes back in the water. To test the repair, flex the repaired section gently by hand across the axis of the crack. A properly fused weld moves with the hull and shows no separation at the weld boundary. A repair that is sitting on the surface rather than bonded into the material will show a visible crack line at the edge of the weld bead when flexed. Re-weld any sections that fail this test before launching.
How to Know if Plastic Welding Is Not Enough
Plastic welding restores structural integrity to cracked or split hull sections, but it is not the right approach for every type of damage. Large impact damage that has removed hull material rather than simply cracking it requires a patch plate, a section of compatible polyethylene or HDPE sheet welded over the damaged area, rather than a crack repair.
Damage to structural elements like the keel, seat mounts, or hull reinforcement ribs that has changed the load geometry of the boat needs assessment before any repair attempt: welding the surface crack without addressing the underlying structural compromise does not restore the hull to a safe working condition. And heavily UV-degraded hulls where the polyethylene has become uniformly brittle throughout the wall, not just at the oxidized surface, are poor candidates for welding repair because the base material surrounding the repair zone may continue to crack under normal paddling loads. A plastic welding repair extends the working life of a damaged hull. It does not reverse material degradation that has run through the full wall thickness.
Get Tools for Plastic Boat and Kayak Repair from Hot Air Tools®
The right plastic boat repair setup starts with a hot air welding tool that delivers adjustable temperature output across the 260 degrees C to 300 degrees C working range for polyethylene and HDPE, consistent airflow for even heat distribution at the repair zone, and enough nozzle flexibility to work across the contoured geometry of a kayak hull or boat body. A tool that cannot hold its set temperature or deliver consistent airflow makes hull repair significantly harder and produces less reliable results than the technique alone would otherwise allow.
Hot Air Tools® stocks professional-grade heat guns and hot air welding tools from BAK suited for plastic boat repair, kayak repair plastic welding, and a broad range of thermoplastic welding applications. Competitive pricing, in-house repair support, and nearly four decades of experience helping professional welders find the right tool for the job are what Hot Air Tools® brings to every equipment inquiry. For readers looking to explore the full range of automatic plastic welding machines for larger-scale thermoplastic work, that lineup is available on the site as well. Contact Hot Air Tools® directly with any questions about tool selection, welding rod compatibility, or technique for your specific repair job, and our team will give you a straight answer.